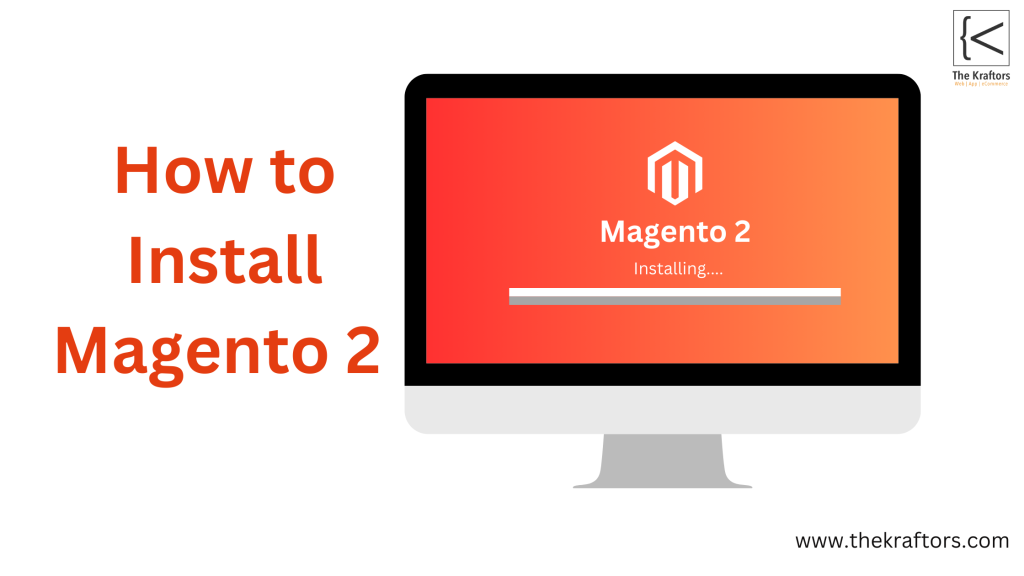
Installing Magento 2
The Magento 2 platform offers a wide range of features and flexibility that are essential for online stores to succeed. In my last article I talked about why Magento 2 is the best platform to create an e-commerce website.
However, some users may find it challenging to install Magento 2 because it has a long list of technical requirements.
From understanding the system requirements to following end-to-end steps with the right approach can make it easy to install Magento 2 and bring your brings back to track with promising features.
Here we have put together a step-by-step guide to install Magento 2.
System Requirements to Install Magento 2
The system requirements include the following:
-
- Operation System: Ubuntu, Debian, or CentOS are among the suggested Linux distributions.
-
- Web server: Nginx 1. x or Apache 2.4.
-
- Database: 10.x MariaDB or MySQL 5.6+.
-
- PHP: Version 7.3 or 7.4, with the following extensions enabled:
-
- bc-math
-
- ctype
-
- curl
-
- dom
-
- gd, ImageMagick 6.3.7+ (2.0.34+)
-
- intl
-
- mbstring
-
- OpenSSL
-
- PDO/MySQL
-
- SimpleXML
-
- soap
-
- XM
-
- xsl
-
- zip
-
- JSON
Step-by-Step Magento 2 Installation Process
The Magento 2 installation process brings along a range of steps that you must take to ensure a seamless Magento 2 installation process. Here are step-by-step process for Magento 2 installation:
Step 1: Install & Configure Apache2 Server & PHP Extensions
Apache is an open-source web server that is used in Ubuntu for hosting the website and for this purpose you will have to install Magento 2.
Run the following commands to install Apache in Ubuntu
| 12 | sudo apt updatesudo apt install apache2 |
To auto-run Apache2 during system startup, use the following command:
| 1 | sudo systemctl enable apache2.service |
Create a magento2. conf file using the following command to declare Magento 2 site configuration for Apache2
| 1 | sudo nano /etc/apache2/sites-available/magento2. |
Now, open the created file confident to see that it has the heading contents as desired. Copy and paste the following configuration into it
| 2345678 | ServerAdmin webmaster@localhostDocumentRoot /var/www/htmlErrorLog ${APACHE_LOG_DIR}/error.logCustomLog ${APACHE_LOG_DIR}/access.log combined ServerName your-magento-2-store-url.com DocumentRoot /var/www/html/magento2/pub |
Please do not forget to replace the server address with your real Magento 2 store link, which is written as “your-magento-2-store-url. com”
If installing Magento 2 is done on Ubuntu locally, you may change it to localhost. com. You will also have to make some changes to the /etc/hosts file as well.
<div><br>127.0.0.1 your-magento-2-store-URL.com</div>
| 1 | 127.0.0.1 your-magento-2-store-url.com |
Run the following command to enable mod rewrite:
| 12 | sudo a2ensite magento2.confsudo a2enmod rewrite |
Step 2: Install Database Server
Since Magento 2 and Adobe Commerce, MariaDB is one of the most popular database servers. To install MariaDB server and client in Ubuntu, run the following command:
| 1 | sudo apt-get install mariadb-server mariadb-client |
To auto-start the database server on system startup, run the following command:
| 12 | sudo systemctl restart mariadb.servicesudo systemctl enable mariadb.service |
Now, run the following command to set up a MariaDB server in Ubuntu:
| 1 | sudo mysql_secure_installation |
Select the following options when prompted:
-
- Enter current password for root (enter for none): Press Enter
-
- Set root password? [Y/n]: Y
-
- New password: Enter your password
-
- Re-enter new password: Please enter your password
-
- Remove anonymous users? [Y/n]: Y
-
- Disallow root login remotely? [Y/n]: Y
-
- Delete the test database and open it. [Y/n]: Y
-
- Reload privilege tables now? [Y/n]: Y
Step 3: Select MySQL User
Magento 2 can not be installed directly under the root user in the operation system by default. That means you will have to create a new user for the database.
Run the following command to log into MariDB:
sudo mysql -u root -p
Now, run the following command to create a new database
CREATE DATABASE magento2
Create a new user called ‘XYZ’ using the following command
CREATE USER ‘XYZ’@’localhost’ IDENTIFIED BY ‘YOUR_PASSWORD’;
Grant user to magento2 database:
| 1 | GRANT ALL ON magento2.* TO ‘XYZ’@’localhost’ IDENTIFIED BY ‘YOUR_PASSWORD’ WITH GRANT OPTION; |
Finally, flush the privileges and exit.
| 12 | FLUSH PRIVILEGES;EXIT |
Step 4: Install Composer
Composer is a must for Magento 2 for managing the dependencies. You can either download and install Composer in Ubuntu manually or run the following command to do that:
| 1 | curl -sS https://getcomposer.org/installer | sudo php — –install-dir=/usr/local/bin –filename=composer |
To check if the Composer has been successfully installed, run the following version check command:
| 1 | composer -v |
Step 5: Download & Install Magento 2 in Ubuntu
Go to one of these resources and download the zip file of the latest Magento 2 version:
-
- Magento 2 Releases on GitHub
Now, extract the zip file to the /var/www/html/ folder.
- Magento 2 Releases on GitHub
-
- Download through composer
You can download the latest version of Magento by using Composer as it handles dependencies and updates more efficiently.There are two main ways to install Magento 2 using Composer for Magento, Open Source and Adobe Commerce. Choose the method that suits your needs.
- Download through composer
Magento Open Source
composer create-project –repository-url=https://repo.magento.com/ magento/project-community-edition Magento 2
Adobe Commerce
composer create-project –repository-url=https://repo.magento.com/ magento/project-enterprise-edition Magento 2
Run the following command to set the permissions:
| 12 | sudo chown -R www-data:www-data /var/www/html/magento2/sudo chmod -R 755 /var/www/html/magento2/ |
Install Magento 2 on Ubuntu
Open the /var/www/html/magento2 folder and run the following command:
php bin/magento setup:install –base-url=https://magento2.com/ –db-host=127.0.0.1 –db-name=magento2 –db-user –db-password=password –admin-firstname=admin –admin-lastname=admin –admin-email=admin@admin.com –admin-user=admin –admin-password=admin123 –languag e=en_US –currency=USD –timezone=America/Chicago –use-rewrites=1 –backend-frontname=”admin” –search-engine=elasticsearch7
The above command installs Magento 2 on Ubuntu with the preset configuration setting. Below, you can find the necessary parameters which you can modify to install Magento 2 as required: For e. g., there is an ability to change the login username and password.
Once the command has been executed successfully, one is able to access the Magento 2 in the local server.
-
- Frontend URL: https://magento2.com/
-
- Admin Login URL: https://magento2.com/admin
-
- Admin Username: admin
-
- Admin Password: admin123
That’s it! Well done; congratulations for successfully installing the Magento 2 store on your Ubuntu server.
Conclusion
Though it may seem difficult, installing Magento 2 can be done effectively by following this detailed tutorial. To safeguard and maximize your business, don’t forget to set up your server environment, properly complete each installation process, and take care of post-installation chores. Magento 2 gives your clients a rich and customized shopping experience on a strong platform that can grow with your company.
For more insights on enhancing your e-commerce platform, check out our previous blog on why choose Magento 2 for your E-commerce Business. This can help you understand how to improve customer interactions and support.

wonderful submit, very informative. I wonder why
the other specialists of this sector do not realize this.
You muszt proceed your writing. I’m confident, you’ve
a huge readers’ baee already!
My website; https://Vavadaonline.Mystrikingly.com/
Thank you so much for your kind words! We truly appreciate your feedback and support. we are glad that you found the information helpful, and we ’ll continue to share more insights. Stay tuned!
I log often and I truly thank you for your information.
The article has really peaked my interest. I am going to take a note
of your site and keep checking for new informmation about once a week.
I opted in for your Feed too.
my webpage … oople.Com
Thanks so much for the kind words! We are happy you found the guide helpful. Stay tuned for more updates, and feel free to share any topics you’d like to see. Happy learning!
Hello there! Thiis is kind oof off topic but I need some advce from
an established blog. Is it tough to set up your oown blog?
I’m not very techincal but I can figure things out pretty quick.
I’m thinking about making my own but I’m not surfe where too
start. Do you have any ideas or suggestions? Thanks
my web-site :: http://forum.d-Dub.com/member.php?837409-Svetlfws
Hey there! Thanks for reaching out! Setting up a blog can feel a bit overwhelming at first, but it’s absolutely doable—even if you’re not super technical. Platforms like WordPress or Medium are beginner-friendly and offer lots of tutorials to help you get started. Our advice: start small, focus on topics you’re passionate about, and the rest will come with practice. Feel free to ask if you have any questions along the way. Good luck!
I must thank you forr the efforts you’ve put iin pnning this
website. I am hoping to check out the same high-grade content from you later on as well.
In truth, your creative writing abilities has motivated me tto get my very own blog now 😉
my blog http://Www.Jeepin.com/forum/member.php?u=114949
Thank you so much for the encouragement! we are really glad to hear you enjoyed the content, and it’s awesome to know it’s inspired you to start your own blog. Best of luck with it—enjoy the journey!
What i do not understood is in reality how you are now not really much
more neatly-appreciated than you might be now. You’re very intelligent.
You understand thus considerably iin relation to this subject, made me individually consider it
from a lot of various angles. Its like men and women are
not involved eccept it’s one thing to do with Woman gaga!Your own stuffs nice.
At all times deal with it up!
Feel free to viisit my webpage :: http://forums.outdoorreview.com
Thank you so much for the thoughtful comment! We are really glad the content resonated with you from different angles—it’s great to hear feedback like this. We’ll definitely keep sharing insights, and thanks for your support!
Hi friends, giod paragraph and nice urging commented at this place,
I am really enjoyying by these.
Feel free to visit my blog post :: http://www.Ogloszeniaezoteryczne.Pl/author/svetlkem/
Thanks so much! We are glad you enjoyed it. we appreciate you taking the time to read and share your thoughts here!
Thanks for a marvelous posting! I seriously enjoyed reading it, you aare a great author.I will ensure that I bookmark your blog and will
come back at some point. I wqnt to encourage you to ultimately continue
your great work, have a nice weekend!
Also viszit my web blog: http://WWW.Fiat130.it/phpbb3/viewtopic.php?f=5&t=263780
Thank you so much for the kind words! We are really glad you enjoyed the post, and we appreciate you bookmarking the blog. we’ll definitely keep the content coming—hope you have a wonderful weekend too!
An impressive share! I’ve just forwarded this onto a colkeague who had
been doing a little homework on this. And hee actually ordered me dinner because I stumbled upon it for him…
lol. So let me reword this…. Thank YOU for the meal!!
But yeah, thanks for spending some time to discuss this
topic here on your internet site.
My weeb page: http://Services-Sector.ru/clubpointeresam/memberlist.php?mode=viewprofile&u=103918
Haha, glad to hear that our post led to a free meal! 😄 Thanks for sharing it with your colleague, and we are really happy you found the topic useful. Hope you both enjoyed the read!
I read this post fully on the topic of the difference
of most recent and previous technologies, it’s awesome article.
Check out my webpage :: http://forum.d-dub.com/member.php?835114-Svetljuu
Thank you for the feedback! we are really glad you enjoyed the article and found it helpful in exploring recent tech developments. Appreciate you stopping by!
Marvelous, what a webpage it is! This weblog provides helpful data to us, keep it up.
Also visit my homkepage http://Himeuta.org/member.php?1530742-Sergibb
Thank you so much for your kind words! We are really glad to hear you find the information helpful. We appreciate your support!